

How To Install A Volt Gauge In A Car
When you think virtually the number of sensors that your engine has, it seems like there is an endless amount of gauges that can be installed to monitor their readings. Some of these readings are important, just many of them are simple inputs to the vehicle's computer. The about common gauges on today's vehicles are the speedometer, tachometer, fuel gauge, and temperature gauge. Besides having these gauges, your motorcar volition have a number of warning lights that volition illuminate if there are issues with those systems. 1 gauge that is missing in well-nigh vehicles is the charging, or voltage, gauge. With a picayune information you can easily add together a voltage gauge to your vehicle.
Office 1 of 2: The purpose of a voltage gauge
Most vehicles built today come up with a alert light on the dash that looks like a battery. When that light illuminates, it typically ways that there is not enough voltage in the vehicle's electrical arrangement. Most of the time this is due to a failure in your vehicle's alternator. The downfall of this warning lite is that, when information technology comes on, the voltage in the system is very low - and if the bombardment becomes low enough, the vehicle will end up stalling.
Installing a voltage approximate will allow you to come across changes in the charging system well before information technology becomes a serious problem. Having this gauge volition brand it much easier to decide whether information technology is time to pull your vehicle off of the route, or if you can brand information technology to where you are going.
Part two of 2: Installing the gauge
Materials Needed
- Fusible wire link (needs to lucifer amperage rating of gauge)
- Pliers (wire strippers/crimpers)
- Retentivity saver
- Voltage gauge assembly
- Wire (at to the lowest degree 10 feet with the aforementioned gauge rating as the voltage approximate wiring)
- Wire loom
- Wiring connectors (assorted connectors and a 3 way connector)
- Wiring schematic (specific to your vehicle)
- Wrenches (contrasted sizes)
Stride 1: Park your vehicle and utilise the parking brake. Your parking brake should be a pedal or a hand brake. If it'due south a pedal, push it down until you feel the brake engage. If it's a mitt brake, push the button in and pull up on the lever.
Step 2: Install the memory saver per the manufacturer'due south instructions.
Step 3: Open the hood. Release the latch inside the automobile. Stand up in forepart of the car and lift up the hood.
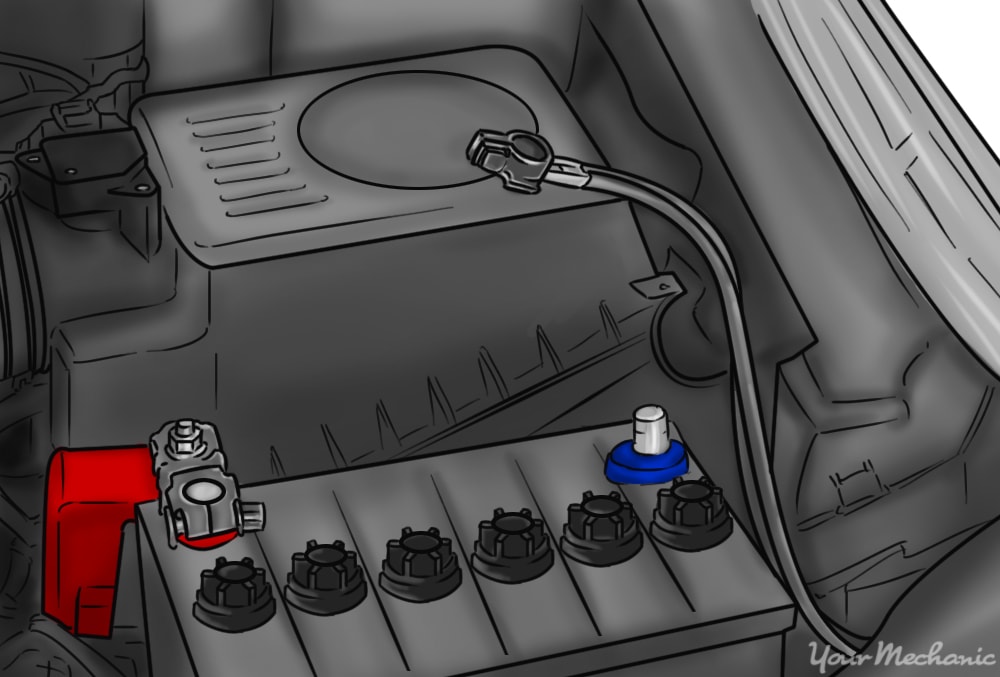
Step 4: Disconnect the negative battery cablevision. Position it away from the battery.
Step 5: Decide where yous desire to install the gauge. First, you need to see how the estimate mounts: it may mount with zipper tape, or it may be mounted with screws.
If information technology has a spiral mount, y'all need to make sure that it is mounted in a spot where screws will not striking anything inside the nuance.
Footstep 6: Run the wiring between the judge and the battery. Using the appropriate size wire, run wiring from where the gauge will exist mounted to the positive battery terminal.
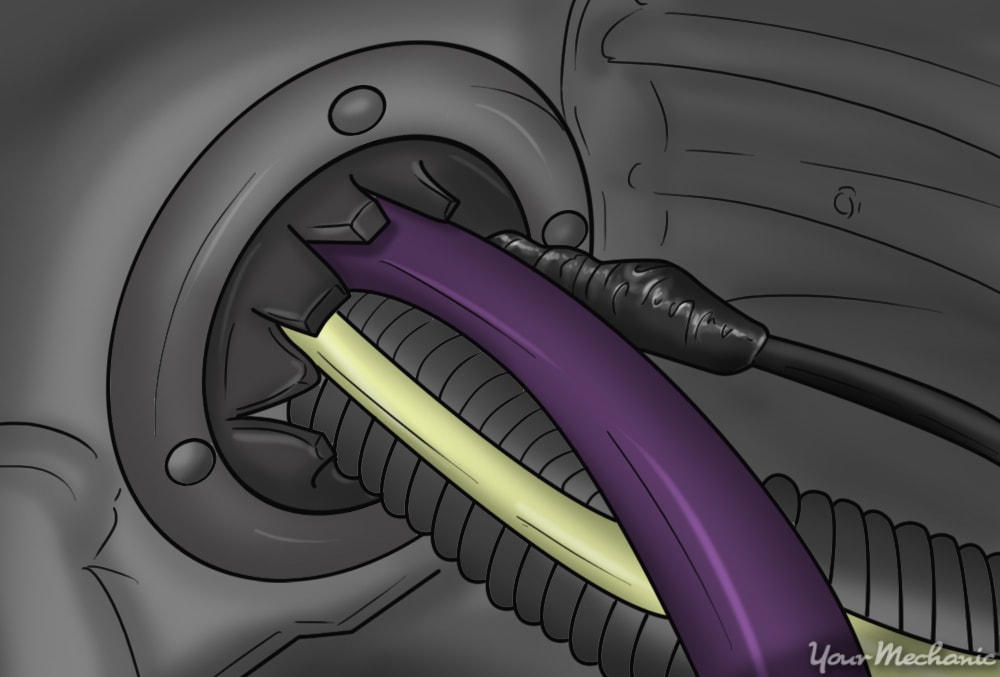
- Tip: When running the wire from inside of the vehicle and into the engine compartment it is easiest to run it through the aforementioned seal every bit the vehicle factory wiring.
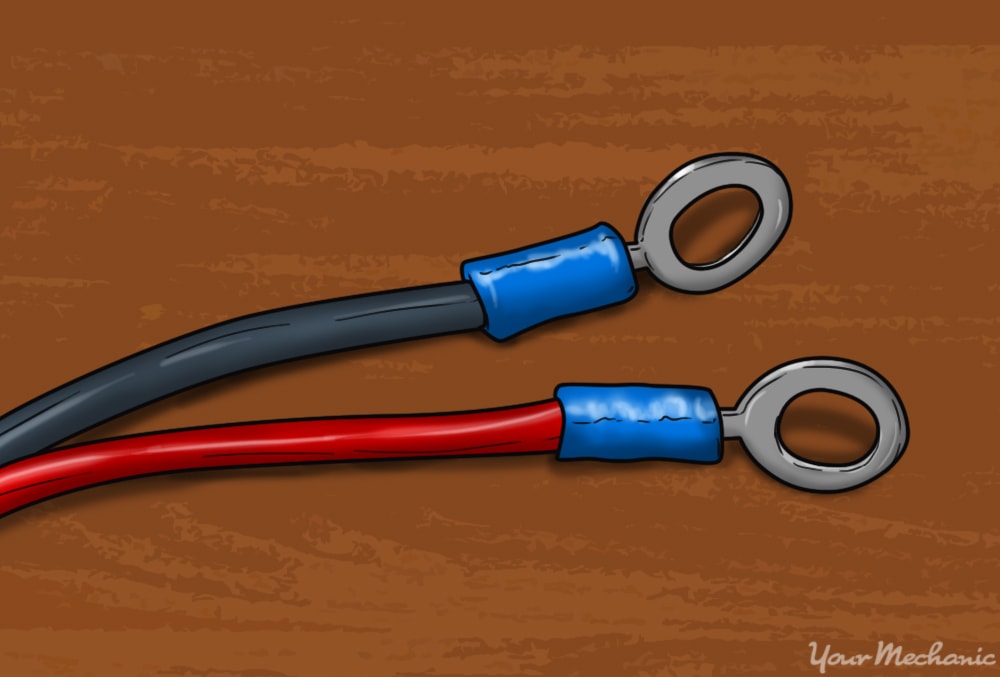
Step 7: Attach connectors to the wire you lot just ran and the fusible link. Strip ¼-inch of insulation from each end of the fusible link. Install an eyelet connector and crimp into place on one stop, and crimp a butt connector on the other end.
Then connect information technology to the wire that you ran to the bombardment.
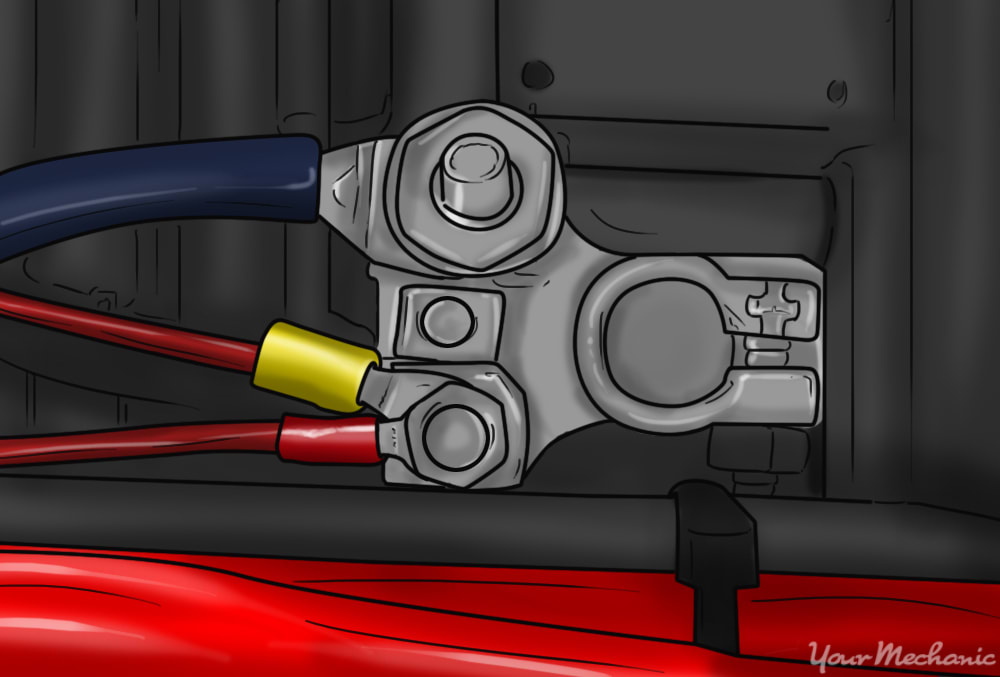
Stride 8: Remove the nut from the positive battery cable finish clamp bolt. Install the eyelet and tighten the nut back into identify.
Footstep 9: Install an eyelet to the other end of the wire. You will install this eyelet where the wire will mount to the guess.
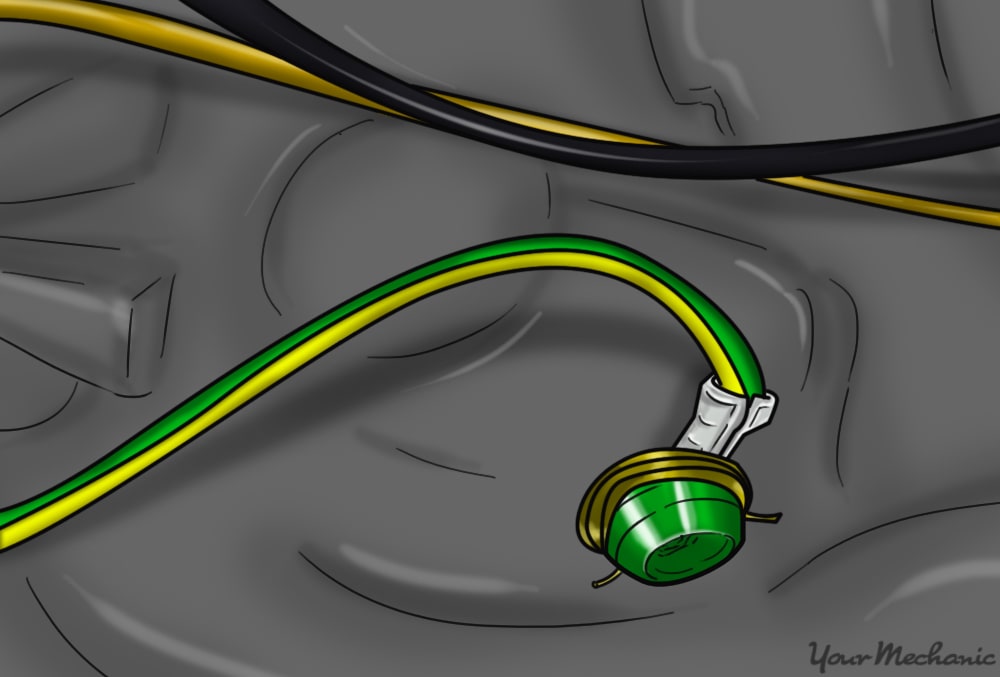
Stride ten: Notice the wire that goes to the lighting circuit. Employ your wiring schematic to locate the positive wire that supplies voltage from the light switch to the lights.
Step xi: Run a wire from where you are mounting the estimate to the lighting circuit wire.
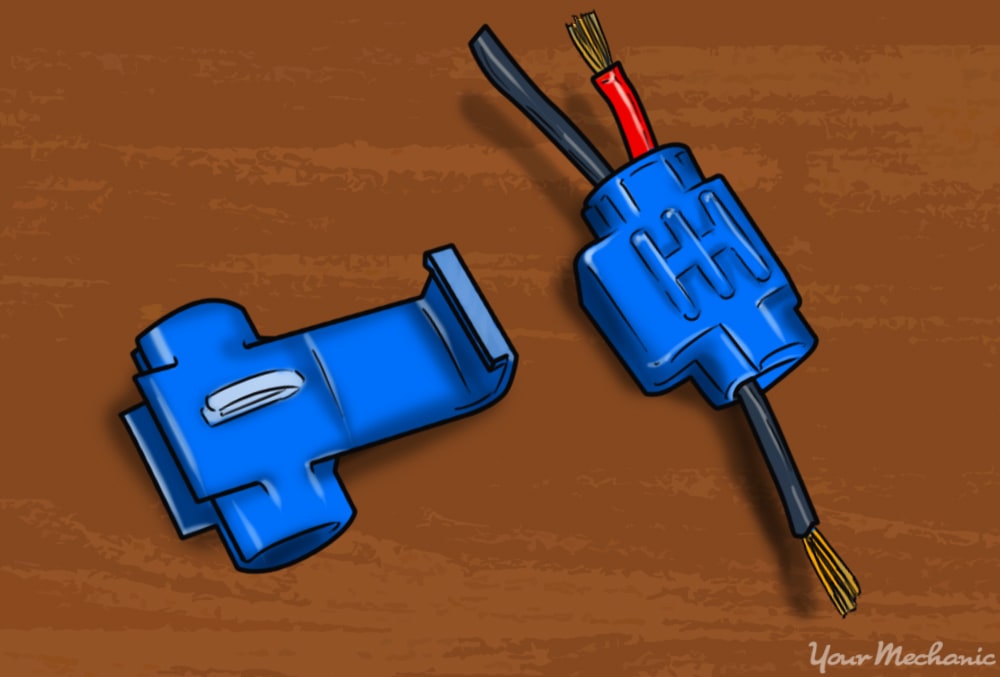
Step 12: Remove ¼-inch of insulation from the excursion cease of the guess wire. Using a three wire connector, crimp that wire to the lighting wire.
Stride 13: Attach an eyelet to the end of the wire you lot only ran from the lighting circuit wire. Remove ¼-inch of insulation from the approximate end of the wire and install an eyelet connector.
Step xiv: Run a wire from the gauge to a grounding betoken under the dash.
Step 15: Attach an eyelet to the wire running to the grounding indicate. Remove ¼-inch of the insulation from the wire, install an eyelet, and crimp into place.
Stride xvi: Install the eyelet and wire to the ground connexion.
Step 17: Attach an eyelet to the end of the wire that will connect to the gauge. Remove ¼-inch of insulation from the wire at the gauge and install an eyelet.
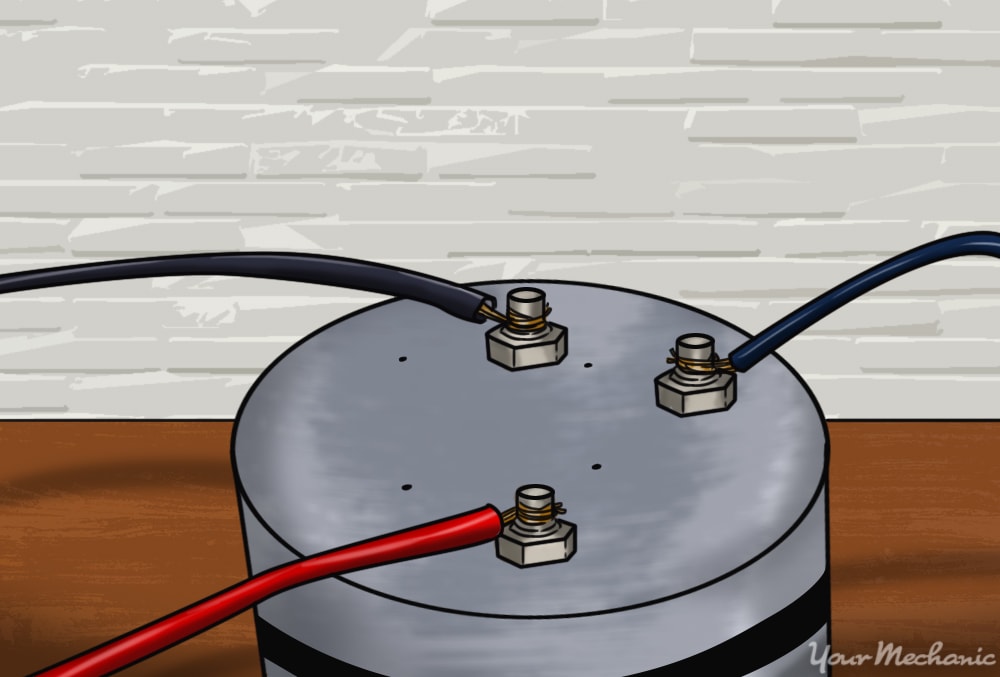
Step 18: Connect the three wires to the estimate.The wire going to the battery goes to the betoken or positive terminal on the gauge; the wire connected to the ground goes to the ground or negative terminal. The final wire goes to the lighting terminal.
Pace 19: Install the guess in your vehicle. Make certain to mountain the approximate according to the judge manufacturer's instructions.
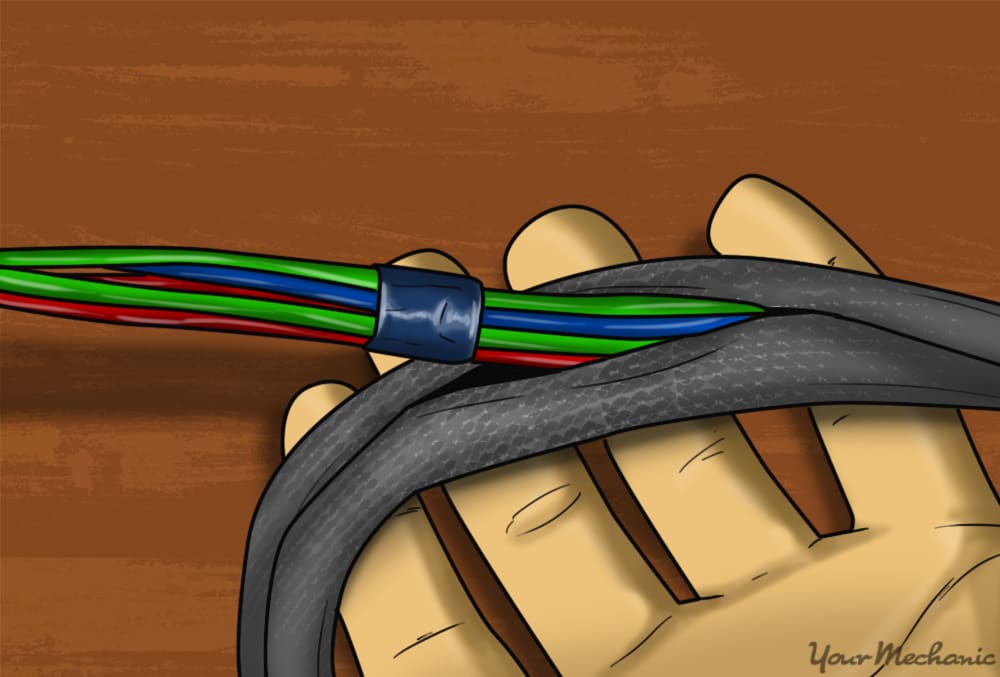
Step 20: Wrap the wire loom effectually any exposed wiring.
Pace 21: Install the negative bombardment cable and tighten until it is snug.
Step 22: Remove the memory saver.
Footstep 23: Offset your vehicle and verify that the gauge is working. Turn on the lights and make sure the gauge is illuminated.
A voltage estimate is a overnice add-on to any vehicle, and can be a valuable safety measure out for drivers who have recurring electrical problems in their cars, or drivers who simply desire to have the precaution of knowing there is a trouble earlier the battery is tuckered. In that location are a variety of gauges available, in both analog and digital, and in various colors and styles to arrange your vehicle. If you are non comfortable installing the judge yourself, consider using YourMechanic - a certified mechanic can come to your home or office to install one and ensure everything is working correctly with your gauges..
The statements expressed above are simply for advisory purposes and should be independently verified. Please run into our terms of service for more details

Source: https://www.yourmechanic.com/article/how-to-install-a-car-volt-amp-gauge-by-robert-tomashek
Posted by: mendozaonfor1968.blogspot.com
0 Response to "How To Install A Volt Gauge In A Car"
Post a Comment